Online 2D Floor Plans and Designs
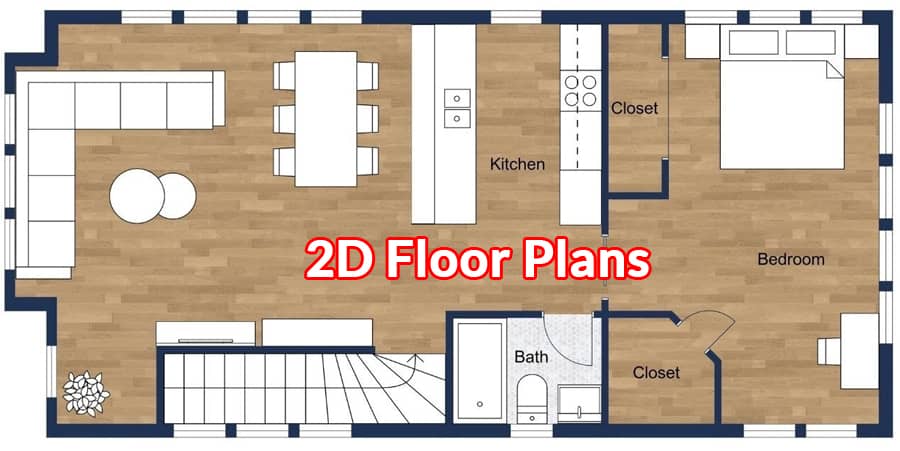
The Floor Planner is a 2D floor planning tool. The top-of-the-line application, which can be used on both Windows and Mac computers, is a simple to use tool for making floor plan designs. This article provides insight into this powerful tool. Make your floor arrangement as easy and straightforward as possible by utilizing this tool. Explore this tool further.
Insights on Floor Planner 2D
The tool that helps you efficiently create home floor plans is called Floor Planner. As soon as you launch the Planner, an invitation notice will appear. Click the "Start with a New Plan" option to continue. Following that, you are ready to start creating your plan.
It is comprised of eight fundamental parts:
- Menu
- Toolbar
- Objects Panel
- Tools Panel
- Grid
- Properties Panel
- Preview Window
- Image options
The Menu is located at the very top of the application and contains the menu selections. This alternative functions just like a menu in any programme.
Any menu item can be clicked, and a list of options appears beneath it. Additionally, the toolbar is a row of buttons that let you quickly carry out routine tasks. The toolbar contains a number of options, including New Plan, Open a Plan, Save Plan, Print, Undo and Redo, Select/Move, and Resize.
The library of a sizable number of doors, walls, and other items may then be found on the Objects Panel. It prompts you to create a floor layout.
In essence, selecting an item from the panel involves clicking on it. then click to add it to the grid to start creating your plan. To make it simpler and faster to find explicit objects, the objects are grouped into several classes.
More Details of Floor Planner 2D
You can find a number of tools meant to assist you in creating your strategy on the Tools Panel. Click on one of the blue tool symbols in the tool panel's base to select a tool. The currently selected tool will appear pink. Then, below the tools and objects panel, the properties panel appears.
It displays the characteristics of the currently selected object. In the unlikely event that no article is selected, the Properties Panel is then empty. Additionally, you can modify the shade of the selected object by using the shading button.
Clicking on the blue preview tab at the top of the grid will open the preview window.
Before printing your plan or saving it as an image, you can make changes to the settings. The print settings are also available as a print alternative in the preview window's upper left corner.
The options for exporting as an image are located beneath the print options on the left of the preview window. Jpeg or PNG configuration options are available for the exported image. Additionally, if you intend to include your plan image in a document, PNG is the best configuration and best choice.
Observe it in an image-editing programme or in a PowerPoint introduction. If you intend to send your plan to someone, post it online, or share it with friends on a social networking website like Facebook, JPEG is the best option.
Click Here to look full details at this software
labels: floor, planner, online, windows, mac, software, plan, design, toolbar, objects, panel, tools, grid, properties, preview, image, options, menu, doors, walls, click, tool, export
For more inforamtion, Please watch the video tutorial