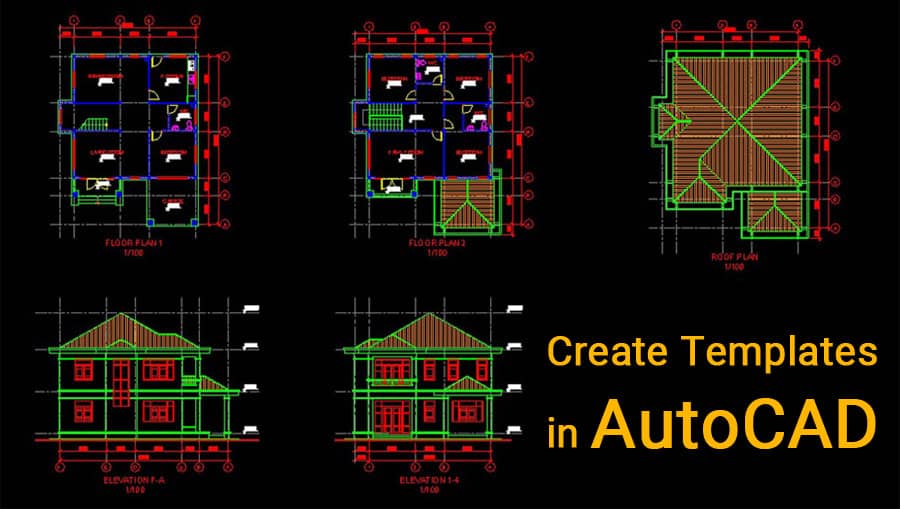
Create Templates in AutoCAD

Arguably the most famous and the most commonly used 3D modeling software ever, we all know about AutoCAD. It is a computer aided design and drafting solution brought to you by Autodesk. Today, we will learn how to create templates in AutoCAD.
As a design engineer, you often need to do the same type of design over and over again, don't you? Every time you start one of these projects, you have to build the same things up from scratch. This can get frustrating. So, what do you do? Do you just copy-paste your previous design and make changes in that?
That's a bad idea. It's prone to errors and you might end up doing more work than before.
What would be better is to keep a handy "basic" drawing available that is common to all of these drafts you have to make. Then keep using this "format" every time you start a new drawing of that kind.
This is, basically, what templates are all about. Templates are "basic format" drawings which are saved in separate locations and are used as the starting skeleton for particular kinds of drawing.
Templates in AutoCAD are one of such features which help us to reduce our work and to save time. Before starting a new design project we have to change many settings in the drawing page like units, sizes, dimension styles, layers, etc. It is not easy and practical to do the settings every time you start a new drawing.
There are many online construction templates available. But also, you can create a custom template in AutoCAD. You can define your own parameters in this template. They are saved with DWT file extension. When you use it to start a drafting project, then you can save it in standard AutoCAD DWG format.
Let us see how we can create templates in AutoCAD in eight simple steps.
Step 1. Start a new drawing
Open AutoCAD, and start a new drawing. It can be done from the main menu, from the "New" item. The list that opens on the side will contain a "Drawing" option. It's the same for any versions of AutoCAD. Click on that to start building your custom template.
Step 2. Choose the blank template
You might think this is very odd, but you have to choose a template to build a template in AutoCAD. The reason for this is that AutoCAD cannot start a drawing from nothing. It has to choose one template, any template.
When you click the new drawing button, a template selection dialog box will open. The default blank template is named "acad" and you should choose it now. Click "open" to go to the next step.
Step 3. Make the template
The drawing workspace will be accessible now. Here, go on building your template. You can choose default dimensions, preferences, settings etc. You can add or change anything in the drawing, just like a normal drawing (which it is, so far).
Just remember that you are making this common for all the actual drawings you will do later using this. So, don't put anything that you'll have to erase and make from scratch later.
When you are done with your customization, go to the next step to make these changes permanent.
Step 4. Save the Template
Open the main menu and click on the arrow besides the "Save As" icon. It will present quite a few saving options on the right. Select the "Drawing Template" option. Make sure you don't get it wrong!
Depending upon what kind of AutoCAD you are using (civil, mechanical, MEP, electrical etc.), the drawing will be saved as a custom template for that type. The default filetype for all of them is DWT.
Step 5. Locate and Select File Type
Next to that, a file dialog box will open. Browse to the location where you want to save this template in. Remember this folder! Next time you want to draw something of this type, you will want to select this template and start from there.
Select the "file type" dropdown list. You will see many AutoCAD-compatible file types and short descriptions given there. Select the "AutoCAD XYZ Drawing Template (*.dwt)" line there. XYZ will be the type of AutoCAD you are using.
Step 6. Give a File Name
When you have made sure that you have the location and the file type done correctly, click on the file name box and give it a name. Make sure the name indicates what kind of AutoCAD drawings this template can make.
For example, if you are making a template for a residential apartment type-B, you may want to name the template ResApt-A.DWT. Then click on "Save".
You may or may not choose to write the file extension in the box, it does not matter. If you don't specify the extension, AutoCAD will automatically give it one based on the file type selection you've made.
Step 7. Add a Description
When you click the save button a new dialog window will open, prompting you to give some description to the template you've just created. You may leave it blank, but it'd be a good idea in case later you don't exactly remember which template pertains to what.
Enter the description in the box. Also, you may want to enter the measurement settings in brief here, just in case.
Step 8. You're done!
When you click the ok button in the aforementioned dialog window, the template will be created and saved in the location you chose. Volia!
Next time you start a project of that type, just navigate to the template folder and select your custom template. That's it! You'll find all your settings and predefined drawing has returned in a snap. Now you can start from there.
For more information, Please watch the video
