How to Install Wood Plank Tile: A Step-by-Step Guide
Wood plank tile is an excellent flooring option that combines the beauty of wood with the durability of tile. Installing wood plank tile can transform the look of a room, giving it a warm and inviting feel.
Gather Your Tools and Materials
Before you start the installation process, gather all the necessary tools and materials. You will need:
- Wood plank tiles
- Tile adhesive
- Trowel
- Tile spacers
- Level
- Measuring tape
- Wet saw or tile cutter
- Grout
- Grout float
- Sponge
- Rubber mallet
- Soft cloth
Prepare the Subfloor
Ensure that the subfloor is clean, dry, and free from any debris or imperfections. If you are installing wood plank tile over an existing floor, make sure it is stable and even. If the subfloor is not level, consider using a self-leveling compound to create a smooth surface.
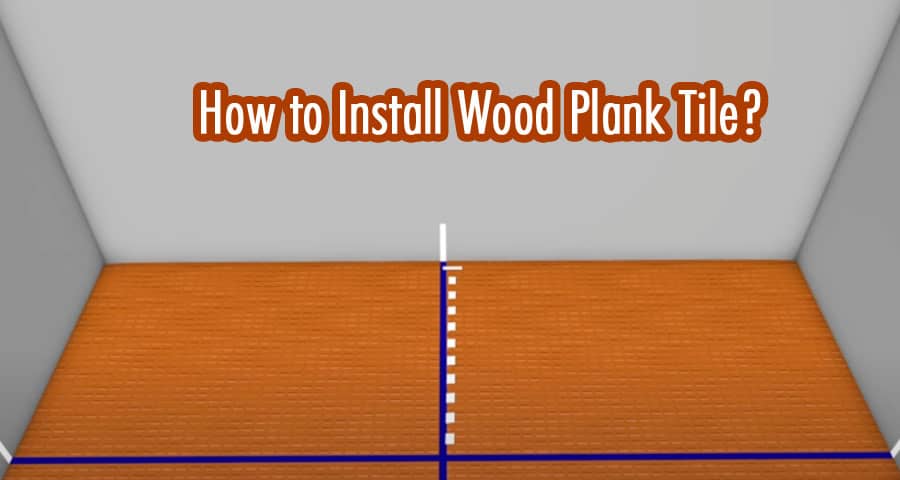
Plan the Layout
Before you start laying the tiles, plan the layout to avoid awkward cuts and ensure a balanced appearance. Begin by finding the center of the room and mark it. Dry-lay a few rows of tiles in both directions from the center point to visualize the pattern and make adjustments as needed.
Apply Tile Adhesive
Using a trowel, spread tile adhesive on a small section of the subfloor. Start from the center and work your way outwards. The notched trowel helps create ridges in the adhesive, which ensures a strong bond between the tile and the subfloor.
Lay the Wood Plank Tiles
Carefully place the wood plank tiles on the adhesive, following the layout you planned. Insert tile spacers between each tile to maintain consistent spacing and allow room for grout. Continue this process until you have covered the entire floor.
Cut Tiles for Edges and Corners
When you reach the edges and corners of the room, you will likely need to cut some tiles to fit. Use a wet saw or tile cutter to make precise cuts. Measure each tile carefully before cutting to avoid mistakes.
Allow the Adhesive to Set
After laying all the tiles, allow the adhesive to set as per the manufacturer's instructions. This typically takes about 24 hours. Avoid walking on the tiles during this time to prevent them from shifting.
Apply Grout
Once the adhesive has dried, it's time to apply grout. Mix the grout according to the instructions and use a grout float to push it into the spaces between the tiles. Wipe off any excess grout with a sponge and clean water.
Finishing Touches
After the grout has dried, use a soft cloth to buff any grout haze from the tiles. Inspect the entire floor for any imperfections and make necessary touch-ups.
Seal the Tiles (Optional)
While wood plank tiles are relatively water-resistant, you may choose to apply a tile sealer for added protection, especially in areas prone to moisture, such as bathrooms or kitchens.
Congratulations! You have successfully installed wood plank tiles, adding elegance and style to your living space.
FAQs
Can I install wood plank tile over an existing tile floor?
Yes, you can install wood plank tile over an existing tile floor, provided the surface is stable and even.
What type of grout should I use for wood plank tile?
Sanded grout is recommended for wood plank tile installations to fill the wider gaps between the tiles.
Is it necessary to acclimate wood plank tiles before installation?
Yes, it is essential to acclimate the tiles to the room's temperature and humidity for at least 24 hours before installation.
Can I install wood plank tile in wet areas like the bathroom?
Yes, wood plank tiles are suitable for wet areas, but it's advisable to apply a tile sealer for added protection against moisture.
Do I need to hire a professional for wood plank tile installation?
While it's possible to install wood plank tile yourself, hiring a professional can ensure a flawless and efficient installation, especially for large areas.