What Grit Sandpaper Do You Use for Drywall Mud?
When working with drywall mud, also known as joint compound, achieving a flawless finish requires precision, technique, and the correct grit sandpaper. Whether you are a DIY enthusiast or a seasoned professional, understanding which grit to use at each stage of sanding is critical for optimal results.
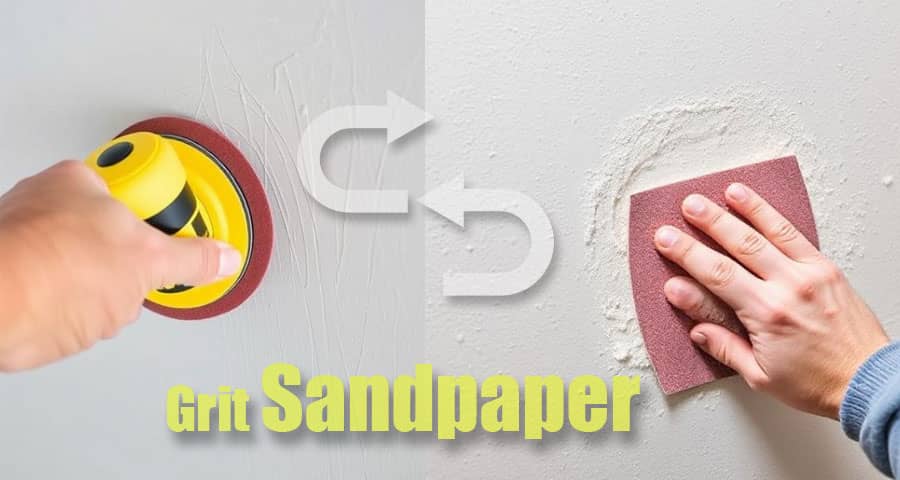
Sanding drywall is a vital step in the drywall finishing process. After applying mud to cover joints, screws, and imperfections, sanding smooths the surface, removes high spots, and prepares it for priming and painting. The goal is to create a seamless surface that blends into the surrounding wall or ceiling.
Best Grit Sandpaper for Drywall Mud - Overview
Choosing the right sandpaper grit ensures that you do not damage the drywall paper or oversand the surface. Here's a breakdown of recommended grits and their use:
- 80 to 100 Grit: Very coarse; generally too abrasive for drywall mud.
- 120 to 150 Grit: Medium grit, ideal for initial sanding of dried mud.
- 180 to 220 Grit: Fine grit for final smoothing and feathering edges.
Best Grit Sandpaper for First Sanding of Drywall Mud
Use 120 to 150 Grit for Initial Sanding
When the joint compound is completely dry, the first round of sanding should be done with 120 or 150 grit sandpaper. These medium grits effectively knock down ridges and smooth high areas without gouging the surface.
We recommend using a pole sander or a drywall sanding sponge for greater control and uniform pressure. Avoid power sanders at this stage unless equipped with a dust collection system, as they can remove too much material too quickly.
Best Grit Sandpaper for Final Sanding Before Painting
Use 180 to 220 Grit for Finishing Touches
Once the majority of the joint compound is level and smooth, switch to 180 or 220 grit sandpaper for the final sanding pass. These fine grits help refine the finish, feather the edges of the mud, and remove any residual scratches from the initial sanding.
This step is crucial for eliminating sanding lines and swirl marks, especially under gloss or semi-gloss paints where imperfections are more visible.
Dry Sanding vs. Wet Sanding: Which One Works Best?
While dry sanding is more common, wet sanding using a damp sponge and 220 grit sanding pad can reduce dust and create a very smooth surface. Wet sanding is ideal for touch-up sanding or for use in occupied homes where dust control is necessary.
However, wet sanding is less aggressive and may not remove high spots as effectively as dry sanding. In many cases, a combination of both methods delivers the best results.
Recommended Sandpaper Types for Drywall Mud
When selecting sandpaper for drywall, consider not just the grit but also the type and backing material:
- Aluminum Oxide Sandpaper: Durable and long-lasting; ideal for both hand sanding and pole sanding.
- Silicon Carbide: Best for wet sanding; resists clogging and holds up to moisture.
- Sanding Screens: Open-mesh design resists clogging and works well with vacuum-assisted sanding systems.
- Sanding Sponges: Useful for sanding corners, edges, and irregular surfaces with flexibility.
Tools for Sanding Drywall Mud
The tools you use can affect the efficiency and quality of your sanding job. Here are our recommended tools:
- Pole Sander: Best for sanding large wall areas and ceilings.
- Hand Sander: Excellent for more controlled sanding on smaller areas.
- Sanding Block or Sponge: Essential for detail work and feathering edges.
- Power Drywall Sander with Vacuum: Ideal for large projects where time and dust control are a concern.
Always inspect the surface under good lighting, such as a work light or by skimming the wall with a flashlight, to highlight remaining imperfections.
Common Sanding Mistakes to Avoid
Avoid these common pitfalls to ensure your drywall finish is flawless:
- Using sandpaper that is too coarse: This creates gouges and can damage the drywall paper.
- Skipping grits: Always progress from medium to fine grit for a polished finish.
- Over-sanding joints: Excessive sanding can remove too much mud and expose tape.
- Neglecting dust removal: Always vacuum or wipe down the surface before priming.
Preparing for Painting After Sanding
Once sanding is complete, remove all dust using a vacuum, tack cloth, or damp sponge. Even the best sanding job can be compromised if fine dust is left on the surface. Use a drywall primer or PVA primer to seal the surface before painting. This step ensures that paint adheres evenly and hides the underlying texture differences.
Conclusion: The Right Grit Makes All the Difference
For the best drywall mud finish, follow this grit sequence:
- 120 - 150 grit for initial sanding
- 180 - 220 grit for final smoothing
Choose quality sandpaper materials, use proper sanding techniques, and inspect your work closely. Whether you're working on new drywall or repairing damaged areas, the right grit sandpaper is key to a professional result.